Some time ago I had to implement an image gallery within a shiny application. A simple grid of small thumbnail images where clicking opens the full image. Nothing complicated, but I did have several requirements:
- The gallery needed to render from a folder of images
- The gallery interface and thumbnails needed to be responsive
- The gallery needed to link to other
shinyUI - Images come from one location, no need for generating thumbnails
There is a wide variety of javascript image gallery implementations. To start with I looked at Lightbox and PhotoSwipe. Lightbox was the easiest to use and many other JS libraries are based on it. Photoswipe is also very popular with a very nice UI, zoom and touch integration plus an extensive API. Both are available under MIT licences. Unfortunately my javascript is limited and I did not have enough time to get more than the most basic Photoswipe gallery to work. But, the Lightbox gallery works very nicely. Here, I will focus on the Lightbox implementation.
This work was eventually built into a shiny app so you can see the galleries in action. I have also wrapped the code in the gallerier package. Gallerier can be used in both shiny and rmarkdown documents. Code for the original shiny app is on Github.
The gallerier is very much a work in progress and more proof-of-concept than usable package. Please use it if you wish and let me know how you get on. The package also has some other functionality for creating card packs, but I will discuss this in a separate post.
Using Lightbox in R
The great thing about Lightbox is that the setup is relatively easy. For a gallery all it requires is the creation of a structured “image set”. The “image set” defines the location of the images and any metadata you wish to display. If you look at the Lightbox documentation the “image set” is a group of image links that look like this:
<a href="images/image-2.jpg" data-lightbox="roadtrip">Image #2</a>
<a href="images/image-3.jpg" data-lightbox="roadtrip">Image #3</a>
<a href="images/image-4.jpg" data-lightbox="roadtrip">Image #4</a>
To to recreate this in R, add all the required details to a data.frame. Then iterate over the rows and using htmltools create a taglist.
tagList(
  lapply(seq_len(nrow(df)), function(i){
    tags$a(id = 'image ID',
           href = 'path to image',
           `data-lightbox` = 'gallery group name',
           `data-title` = 'metadata to display',
           tags$img(class = 'card-img-top',
                    src = 'path to image',
                    width = 'image width px'),
                    height = 'auto')
  })
)
The code in gallerier also adds each image to a HTML card. This makes it a little easier to format the images and make the gallery look nice and consistent; plus it makes the gallery responsive to small screens and changes in screen size.
An Example
In this example we iterate over a folder of images and extract some metadata from the image file name. We also add an id key using hashids::encode() as each image tag needs a unique id for the lightbox gallery. This is particularly important where you have multiple galleries on one page. The only required field in the data.frame is the src field. Any other fields will be joined together to form the metadata description that displays under each image after it is selected.
library(dplyr)
library(lubridate)
library(hashids)
library(gallerier)

images <- data.frame(src = list.files('www/img')) %>%
  tidyr::separate(col = 'src',
                  c('txt', 'date', 'time', 'msec'),
                  sep = '_|\\.',
                  remove = FALSE) %>%
  rowwise() %>%
  mutate(date = as.character(lubridate::ymd(date)),
         key = hashids::encode(1e3 + as.integer(msec),
                               hashid_settings(salt = 'this is my salt')))

knitr::kable(head(images))| src | txt | date | time | msec | key |
|---|---|---|---|---|---|
| IMG_20181019_131513_230.jpg | IMG | 2018-10-19 | 131513 | 230 | Vvm |
| IMG_20181022_160737_185.jpg | IMG | 2018-10-22 | 160737 | 185 | MQB |
| IMG_20181024_180354_405.jpg | IMG | 2018-10-24 | 180354 | 405 | rQV |
| IMG_20181024_180354_425.jpg | IMG | 2018-10-24 | 180354 | 425 | mZR |
| IMG_20181024_180354_432.jpg | IMG | 2018-10-24 | 180354 | 432 | 3LY |
| IMG_20181024_183858_737.jpg | IMG | 2018-10-24 | 183858 | 737 | WK4 |
Then we pass the data.frame to gallerier::lightbox_gallery() and tell it where the images can be found relative to the final HTML page. This can sometimes take a couple of goes to get right depending on which framework you are using. For shiny the images will need to be in a www/img folder. But the www is dropped within shiny so the referenced path would be img/. For rmarkdown the www does not get dropped, so path='www/img'. This blog is created using blogdown and so the images need to be in the static folder, but are then referenced as path='../../img/'.
Some Gotcha’s
As indicated above, referring to the image location can be quite variable. This is also the case for referring to the required JavaScript and CSS files. In shiny, gallerier::lightbox_gallery() embeds all the required files, but this does not work in rmarkdown. At least, I have not managed to get it to work. What does work is explicitly referencing the files at the top of the .Rmd file.
<link rel="stylesheet" href="www/lightbox-2-2.11.3/css/lightbox.min.css">
<script src="www/lightbox-2-2.11.3/js/lightbox-plus-jquery.min.js"></script>
You will notice in the code above I referenced the JS file lightbox-plus-jquery.min.js. This is because the Hugo theme that this blog uses does not include jquery, luckily this file has it embedded. If you are using shiny or rmarkdown, jquery is already available, so you would refer to lightbox.min.js.
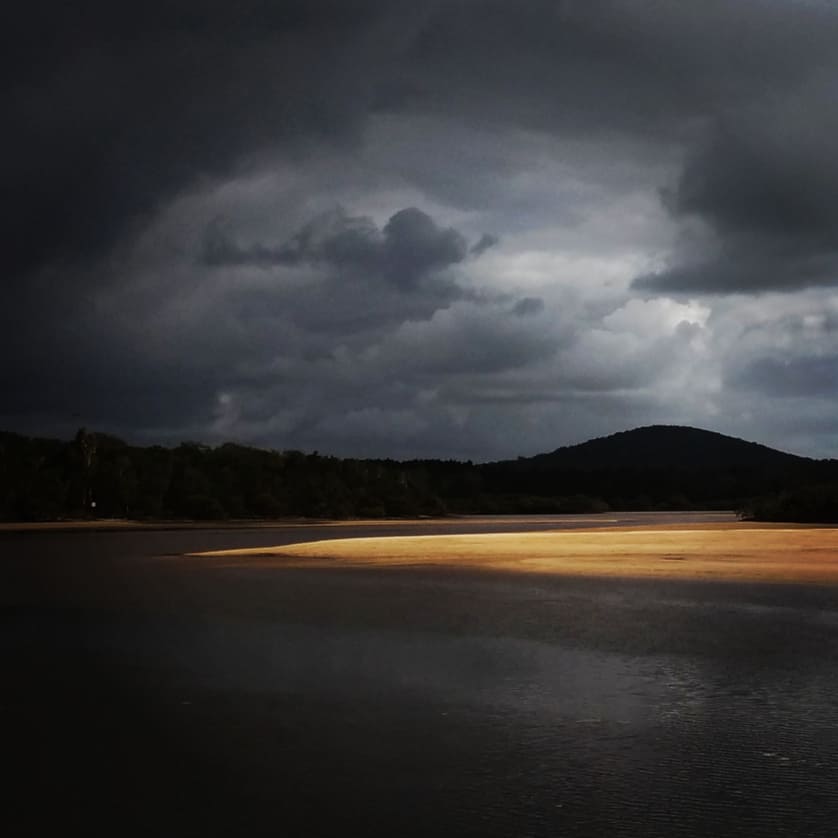
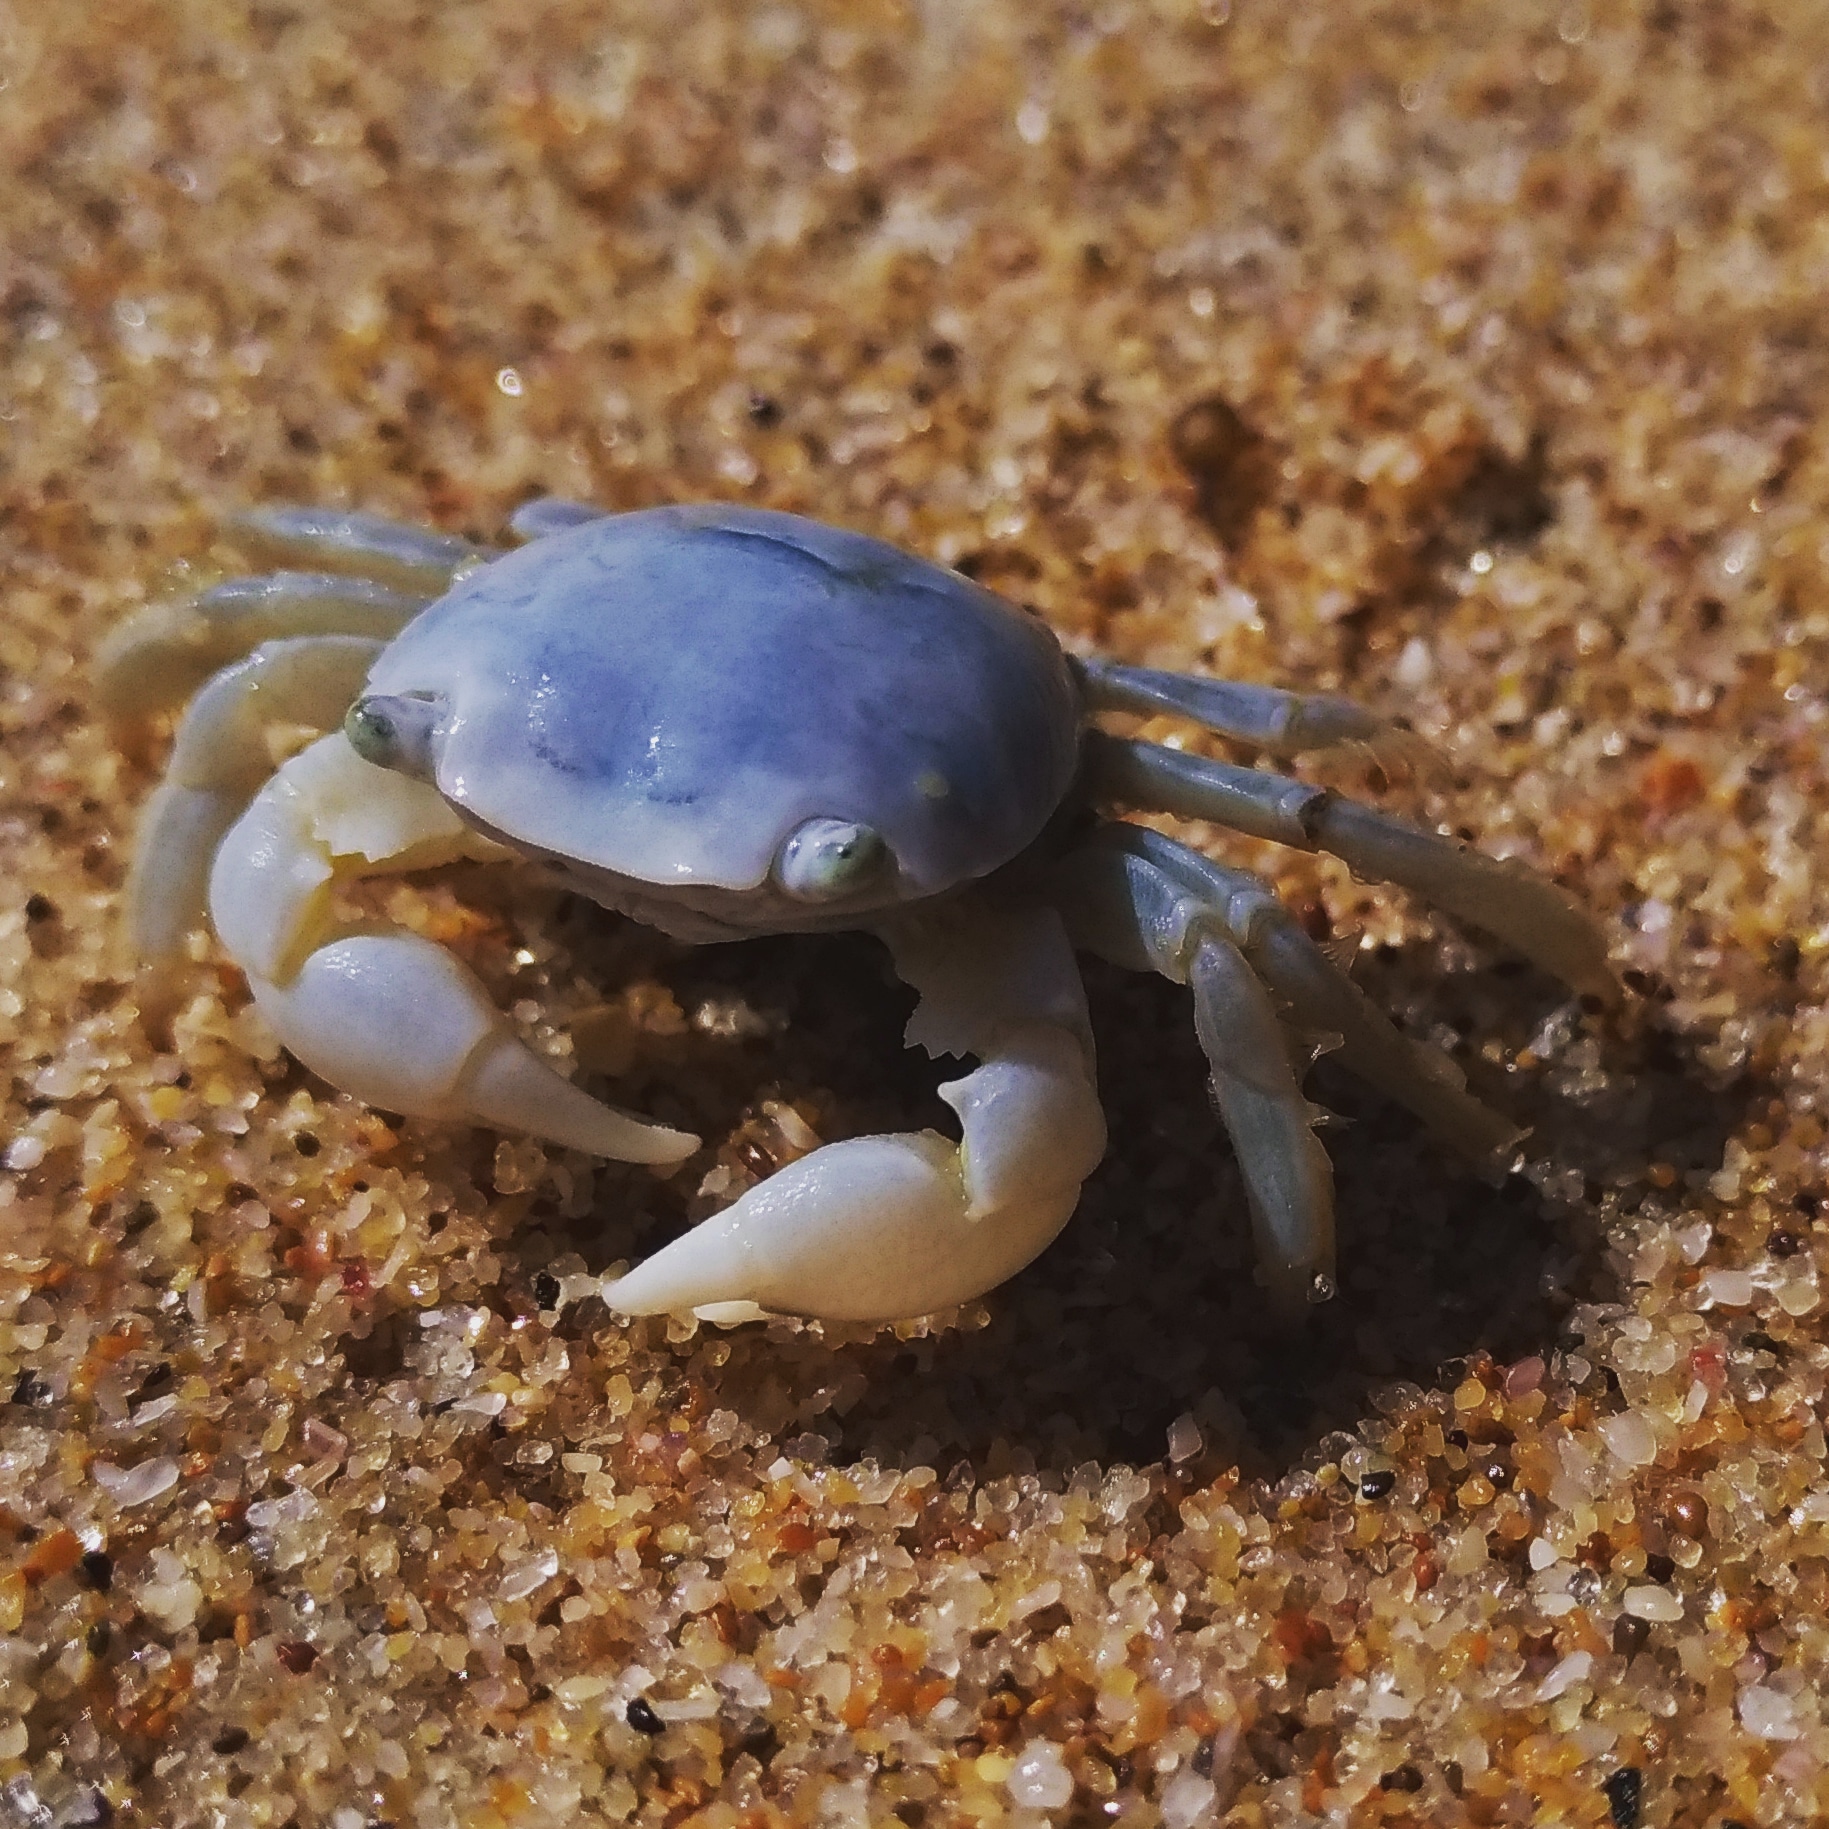
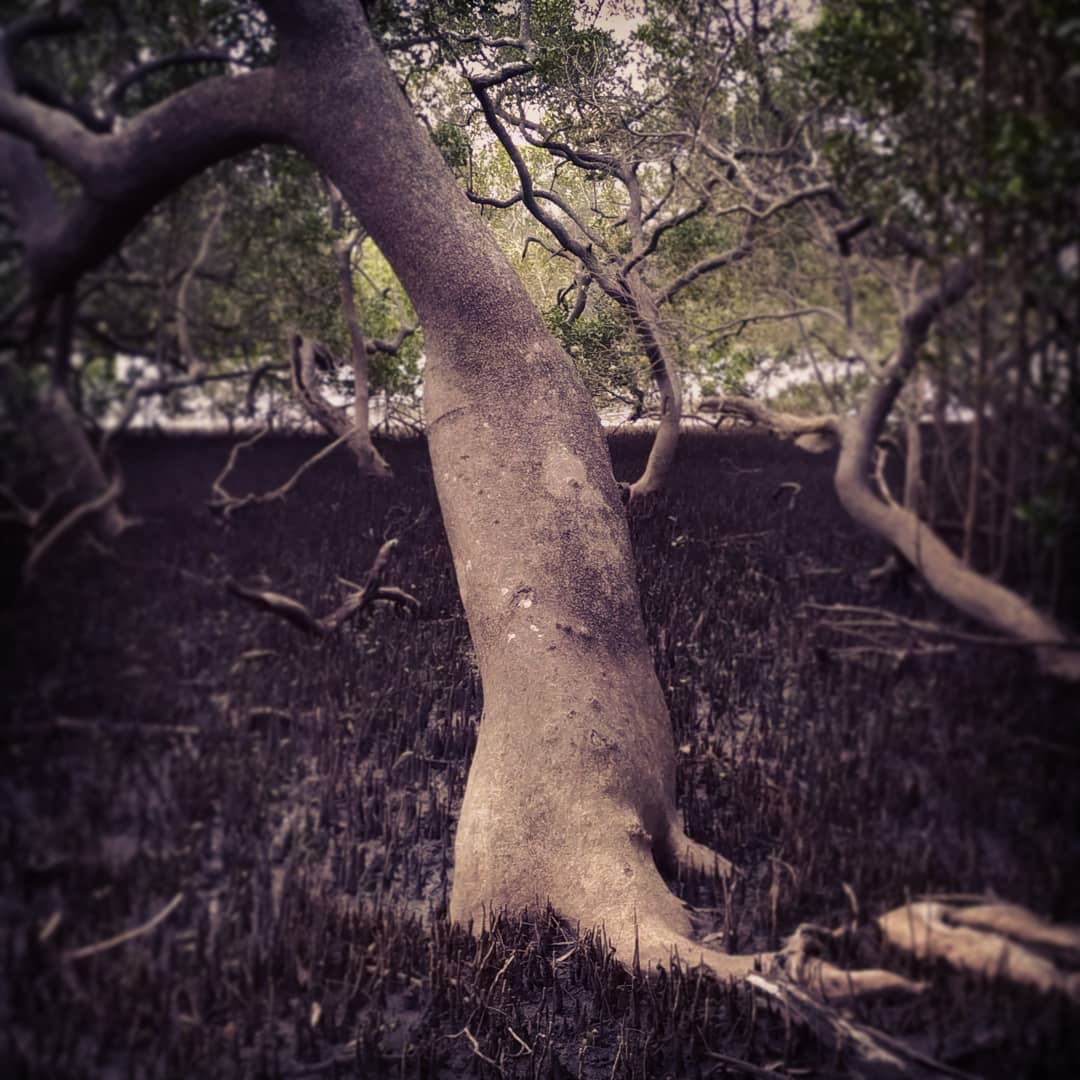
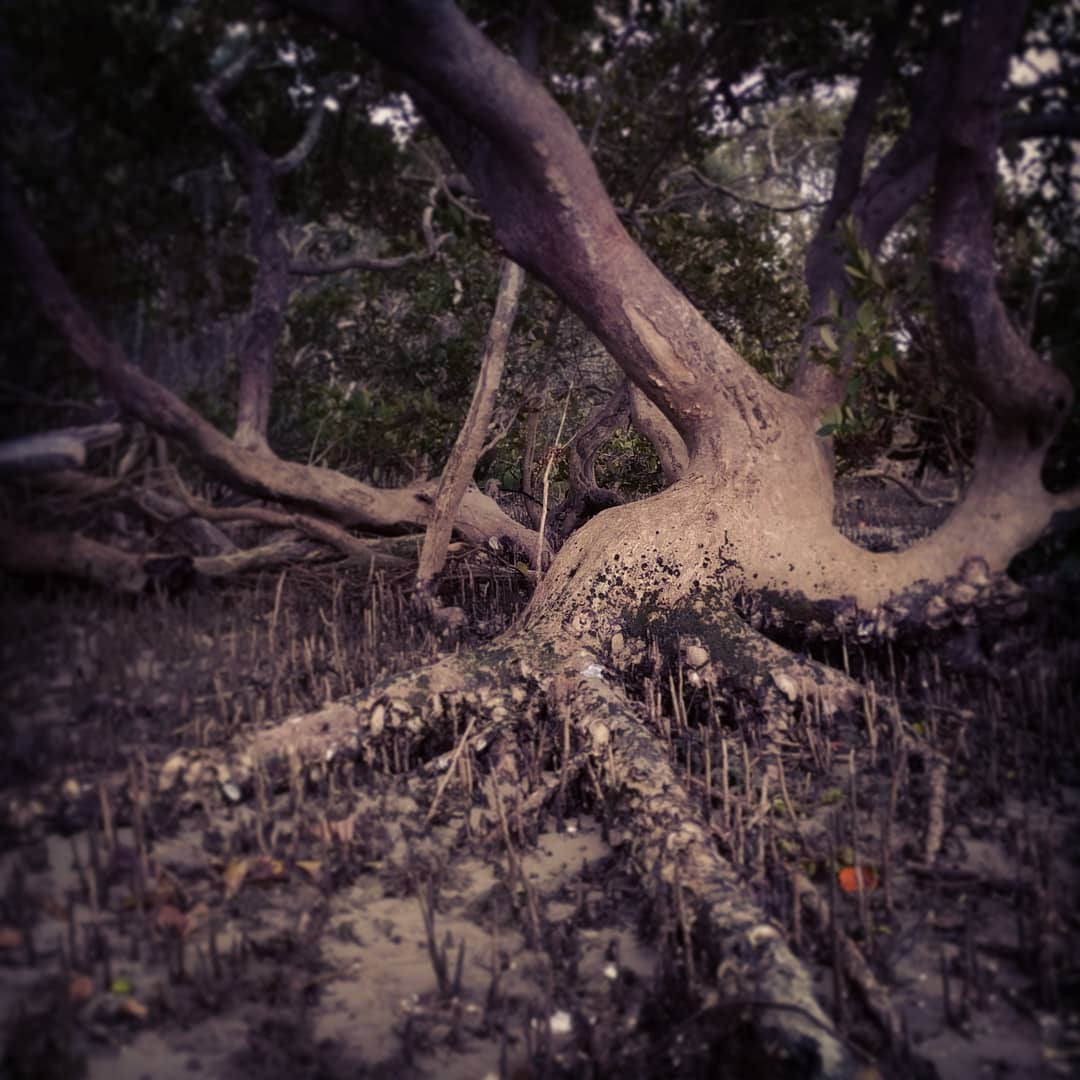
The Gallery
Below is the final result. I am pretty happy with the look of the gallery and the functionality of lightbox. Getting this to work in shiny was straight forward and rmarkdown was not too bad. But I did have a very hard time with blogdown. Mostly it took far too long for me to realise that jquery was missing as I had not had to load it in the other frameworks.
To render the gallery pass the data.frame to the lightbox_gallery() function. Give the gallery a name, define the image file path, and that is it.